Animation Tools Overview
The last set of tools that we’ll discuss as part of the standard 3D Studio Max interface is located at the bottom of the window, stretching along the width of the working area below the multiple views. These tools help control how you view your animation, your timeline, and how you view your scene...
GO
Creating a Planet Shockwave Explosion in Space

This tutorial will teach you how to create an animation of a
planet shockwave explosion in outer space. This tutorial will involve using a set of tools including the
built-in Earth map/material,
ring wave,
bomb, and the
PArray particle system. We will start off by modeling the planet then we will texture it, add a ring waver, bomb, and a PArray particle system. This is an intermediate level tutorial, make sure you know the basics of 3D Studio Max before attempting it...
GO
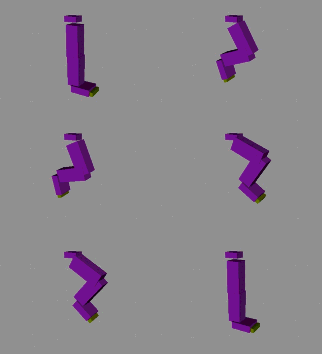
3D Studio MAX Tutorial Animating Using Bones, The Easy Way

To start off with, create five boxes to form toes, the foot, lower leg, upper leg and hip, as shown below:....
GO
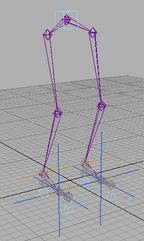
Advanced IK Setups
This tutorial is for advanced users. Before reading this, please have a working knowledge of 3Dstudio Max's "New IK", or IK in general. In this tutorial you will be using 3D-Studio Max's "New IK", and Expressions to create 2 advanced setups...
GO
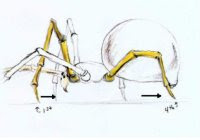
ANIMATING A SPIDER IN 3DS MAX
After setting up a hierarchy (i.e. linking items together) you may "auto bone" them in MAX. It is important to remember to adjust the pivot points of the separate objects you are linking together. The pivot points are crucial to the placement of the bones. You want the pivot points of the objects to be the rotation points for the bones...
GO
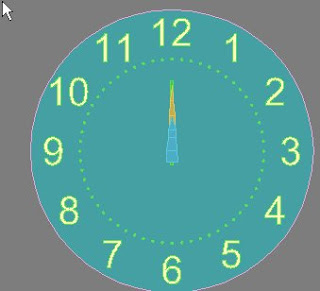
3ds Max tutorial on modeling and animating analog clock

Greeting! in this tutorial we create analog clock,remember that modeling is quite easy but the important is animation for the clock.As you should know a real clock contains 3 hands for hours,minutes, and seconds (called second hand) which move according to each other.As the real one works our model will work in the same way...
GO
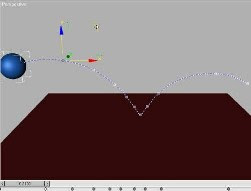
Keyframing (Bouncing Ball)
Create a Plane (in Create Panel | Standard Primitives). Make it approx 200 x 200 units in size. Center it on the world coordinate system. This will be the ground plane. Switch to the Perspective viewport and click Zoom Extents. This zooms the viewport out to make all scene geometry visible...
GO
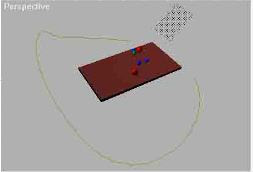
Bullet Time
This Tutorial is based on The Matrix key effect "Bullet Time." By using Keyframes it is relatively easy to set up the shot, however if you want to use the effect without Keyframes (e.g. Particles), you would have to do it traditionally. For this project, the idea is to render three separate shots, one for the effect and two others for the start and end animation. By deleting the key frames, you can pause time and animate a camera along a motion path...
GO

